Introduction
Keeping your home clean and tidy is essential for a comfortable living environment, and a high-quality vacuum cleaner can be your best ally in this endeavor. Shark vacuums are known for their powerful suction and efficient cleaning capabilities. However, just like any other appliance, proper maintenance is crucial to ensure its longevity and optimal performance. One essential aspect of maintenance is learning how to empty your Shark vacuum correctly. In this guide, we'll walk you through the step-by-step process to ensure that your Shark vacuum remains in top working condition. how to empty shark vacuum
Step 1: Power Off and Unplug
Before you begin any maintenance task on an electrical appliance, it's essential to ensure your safety. Start by turning off the vacuum and unplugging it from the power source. This prevents any accidental activation while you're working on it.
Step 2: Locate the Dust Bin
Shark vacuums usually have a removable dust bin or canister where dirt, debris, and dust accumulate during cleaning. Locate this dust bin, which is typically positioned near the front of the vacuum. It might be labeled as the "dust cup" or "dust container."
Step 3: Remove the Dust Bin
To remove the dust bin, follow the manufacturer's instructions, as the process can slightly vary between different Shark vacuum models. In general, you'll need to press a release button or unlock mechanism to detach the dust bin from the vacuum body.
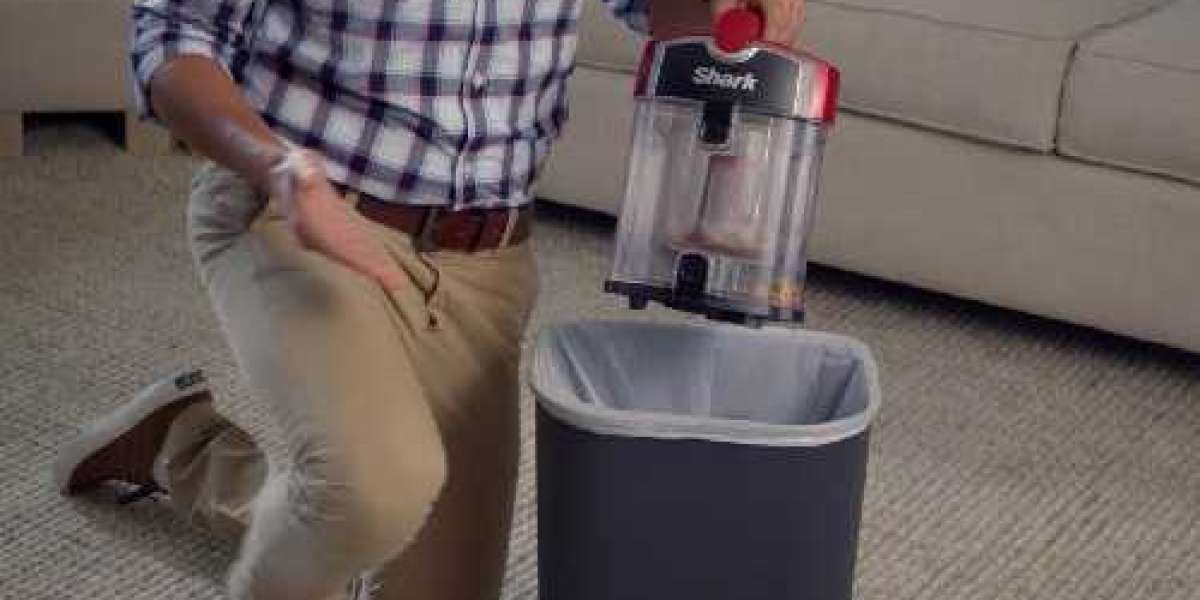
Step 4: Empty the Dust Bin
Take the detached dust bin to a trash can or a bag for easy disposal. Hold it over the trash receptacle and press the release button to open the bottom of the bin. Shake it gently or tap it against the side of the trash can to encourage the dirt and debris to fall out. You might also use a cleaning brush to dislodge any stubborn particles stuck in the bin.
Step 5: Clean the Filters
Shark vacuums often have filters that trap fine particles like dust and allergens. These filters need regular cleaning to maintain the vacuum's suction power. Refer to your vacuum's manual to locate and remove the filters. Depending on the model, you might need to rinse the filters under cold water and allow them to air dry for at least 24 hours before placing them back in the vacuum.
Step 6: Reassemble the Vacuum
Once the dust bin and filters are thoroughly cleaned and dry, reassemble the vacuum. Insert the filters back into their designated slots and make sure the dust bin is securely attached to the vacuum body.
Step 7: Dispose of the Debris
Dispose of the debris you've emptied from the dust bin responsibly. If you've vacuumed up larger items that can't easily be disposed of in your regular trash, consider recycling or disposing of them according to your local waste management guidelines.
Step 8: Wash Your Hands
After completing the maintenance, it's a good practice to wash your hands thoroughly. Vacuum cleaners can accumulate a wide range of dirt and allergens, so cleaning your hands helps maintain hygiene.
Conclusion
Regularly emptying your Shark vacuum and maintaining its filters is essential for optimal performance and longevity. By following this step-by-step guide, you can ensure that your vacuum continues to provide efficient cleaning and a healthier living environment for you and your family. Remember to consult your vacuum's user manual for specific instructions tailored to your model, and always prioritize safety when working with electrical appliances.