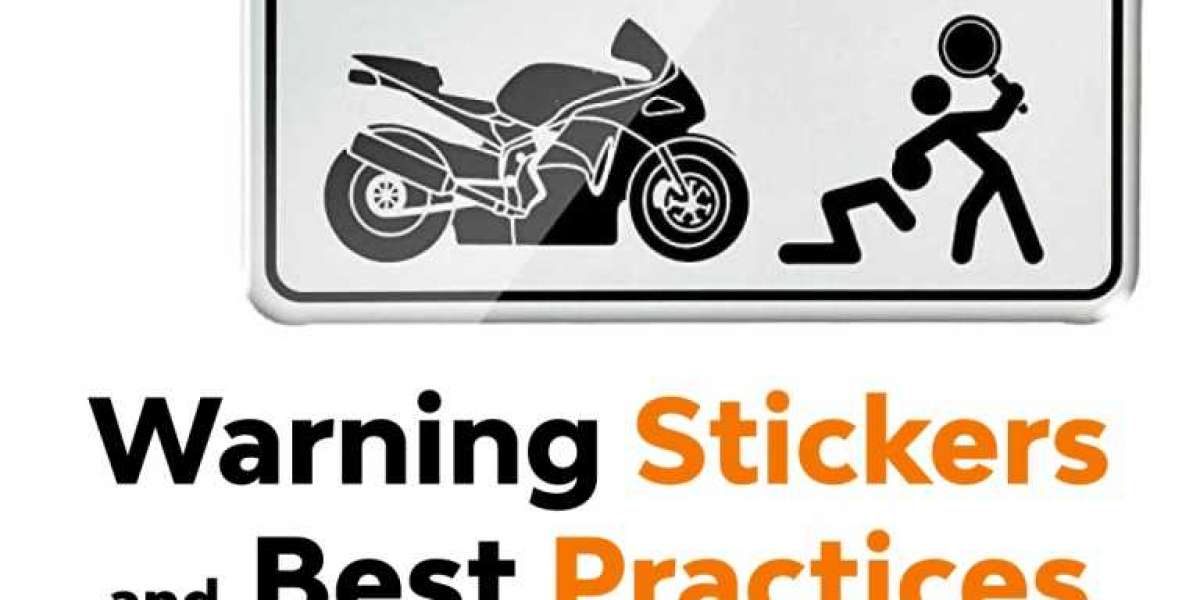
My first motorcycle and boy was I proud. A brand new, pristine Ducati GT1000 all those years ago. To me, it was a powerhouse work of art and the end all be all that I had been looking for. Then somebody had seen fit to slap a warning sticker on the face. No, none of us should drive drunk, and yeah, they have to tell you to read the manual. But I was young and after I got it home, I was not taking it back out until I have had these annoyances removed. After parking, I walked straight to the garage and grabbed a pack of razor blades. Probably obvious to some of you but we are all stupid is the first time around the block. So, as you may have guessed, I was pissed when I scratched the hell out of the fuel take and I have learned better ways to go about this.
First off save yourself some trouble down the road and know which stickers are required in your municipality. From there just take a quick photo of it because once it is off it may or may not be in any shape to read it and you don’t want to kick yourself later if there is something on there that isn’t in your user's manual. Once you have taken the necessary steps to cover your ass we can get down to business. If it doesn’t come off just by peeling it then I recommend two tools. Hairdryer and goo gone. If you don’t have a hairdryer suck it up and go buy one or just borrow it. Torches and heat guns are too hot and going to cause you more problems than they are going to solve (damaging the paint with a heat gun is no better than scratching it with a razor blade). If it is a hot enough day and it’s in the sun that might do the trick, but otherwise use a hairdryer, trust me.
If you have the goo gone give it a try quick on someplace hidden just in case it hurts the paint. It shouldn’t, but now you’ve been warned for that one in a hundred times. Now heat the whole sticker with the hairdryer, we are trying to melt the glue holding the sticker down. Once it is heating up use your fingernail (nothing sharper like a knife or razor) and work your nail under one of the corners. You may need to keep heating it as you go to get it off cleanly but it will come off. Once it is off, use that goo gone and lightly clean the area to get the rest of the residual gum off the tank. Be careful not to get it on your leather motorcycle pants, or yourmotocycle riding gloves.
If you tested the goo gone and don’t like what it is doing to your paint you still have options. In a pinch, WD40 can also work but try the well-gone hairdryer first, and always test anything on a hidden area before applying it to the paint. This was a hard lesson not to jump in with a razor blade but for me first step when I get home is to get the stickers off. Also, save yourself a bit of trouble, and once the paperwork is signed get the dealership to remove any advertising. They aren’t paying you to drive around advertising for them so watch them take off that advertising license plate frame.
Once you have gotten your brand-new motorcycle cleaned up and ready for a ride make sure you head over to Wicked Stock and get yourself some proper attire, be it some classic leather motorcycle pants, or some proper motorcycle racing pants.
For more tips on motorcycle customization, please follow us on Facebook, Twitter and Instagram.
Content is originally posted at https://wickedstock.com/warning-stickers-and-best-practices/